The Open 2019 Scoring Engine
All started during 2018, The R&A was searching for a development agency to create the new real-time Scoring Engine for The 148th Open at Royal Portrush.
As always we’ve started by thoroughly reviewing the requirements, in order to identify major challenges. Based on them, we strove to specifically design a solution that will rise to the occasion.
Our challenges
- A reliable and high performing solution was needed. It had to provide in real-time critical scoring data for TheOpen.com site and The Open mobile apps(IOS, Android). We also had a couple of third party websites that were consuming our scoring feeds.
During 2018 Championship week, TheOpen.com had over 8 million unique users with peak traffic periods of 40 000 concurrent requests. Keeping in mind that last year’s recorded values were only accounting for The Open website, we set our target for concurrent requests to 200 000. - An optimal solution that should scale-out when traffic increases and scale down when there’s a decrease in the number of users. Our focus was to keep the infrastructure costs to a minimum without impacting the user experience.
Our approach
Starting from challenges, we’ve done our due diligence. The most appropriate solution that met our expectations was to use a serverless platform. This was based on the facts that a serverless approach should provide fully dynamic scaling and pricing based entirely on consumption.
After careful consideration of all the major FaaS (Functions-as-a-Service) providers we’ve decided to go with Azure Functions – (Microsoft’s implementation) relying our decision on the following:
- The pricing difference between Azure and others is minimal (AWS Lambdas, Google Cloud Functions)
- Azure Service Bus – we wanted a decoupled solution that can handle new scoring messages and distribute them to independent functions
- Azure Scale Controller massively improved getting close to AWS Lambdas scaling (still the best platform when comes to dynamical scaling)
Azure Functions Development Environment
Next, I will try to share all the things that I would have loved to know about the development environment before working on a project using Azure Functions. We will start by creating a sample solution in Visual Studio that contains two Azure Functions (HTTP triggers).
Prerequisites
An instance of Visual Studio 2017 or 2019. We’ve used Visual Studio 2017 and we had to include the Azure development workload in our installation. If you are following this, please make sure that you have the latest version of the Azure Functions Tools (the extension installed by the Azure development workload), a complete explanation can be found here.
Local environment
Having the extension installed, we can create our first Azure function.
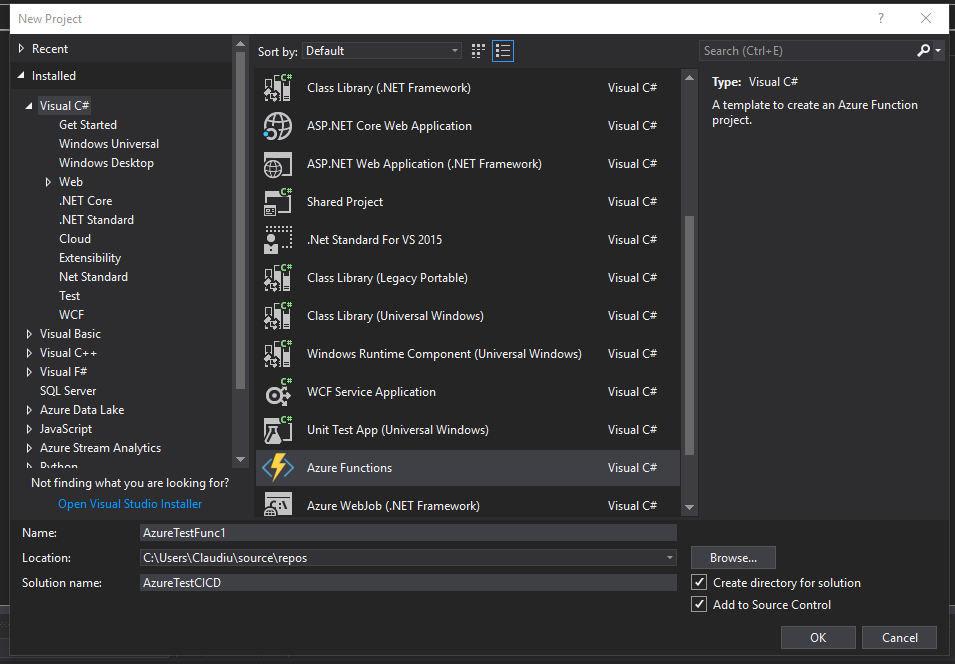
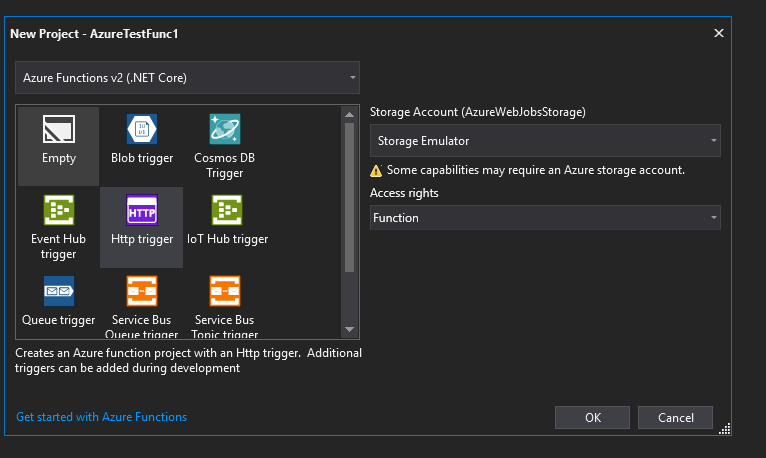
On the next screen, select HTTP trigger (this function will be invoked with an HTTP request) by selecting Azure Functions V2 (.NET Core) and create the first serverless API endpoint.
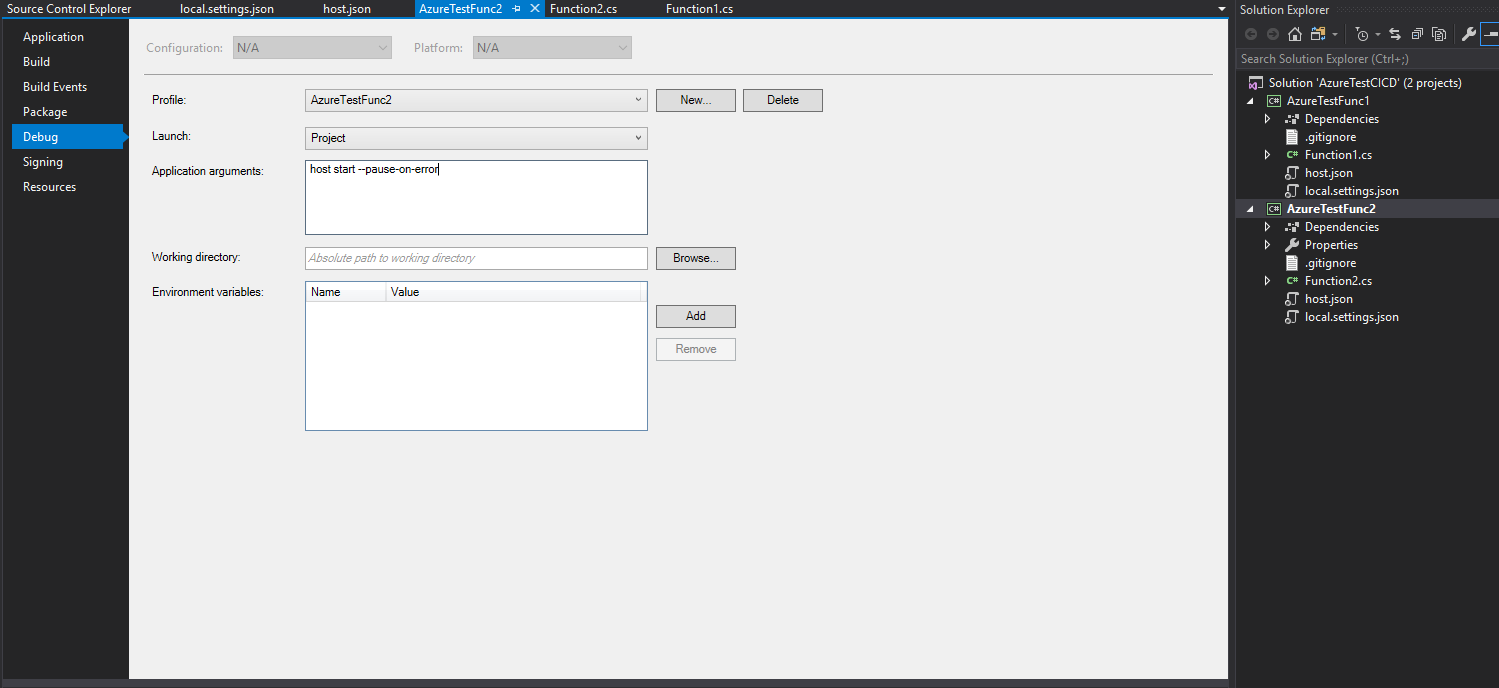
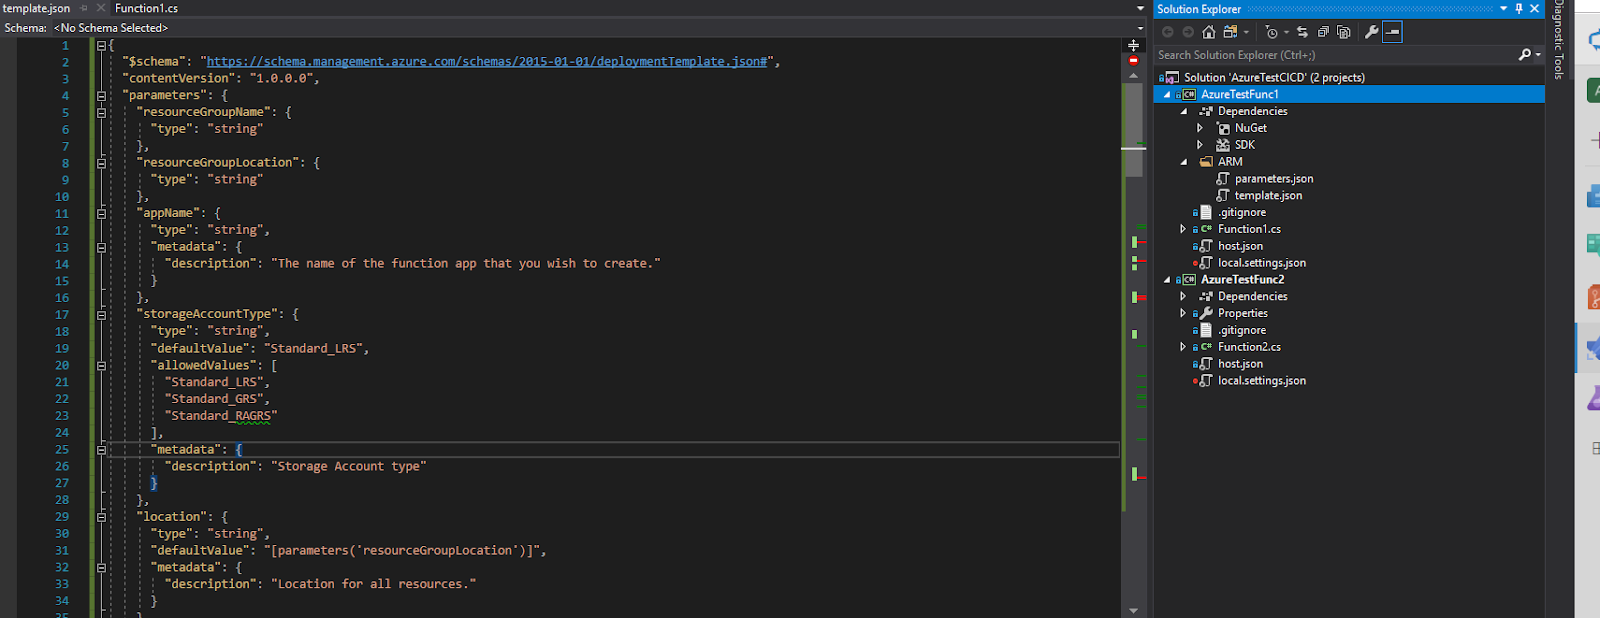
Now let’s add a second function using the same options and our solution will look like this:

If you want to test both functions at the same time you have to set the “LocalHttpPort” in local.settings.json to a different port for each function. Then you have to add in Project > Properties > Debug > Application arguments the following line: “host start –pause-on error”. I couldn’t find any information about the Application arguments setting in Microsoft’s documentation but a Stackoverflow thread explaining the problem and a solution can be found here.

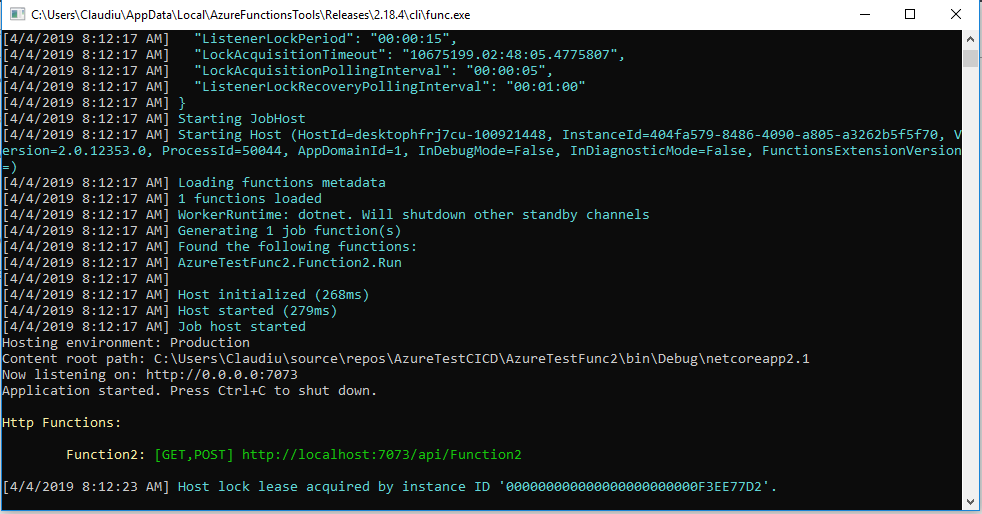
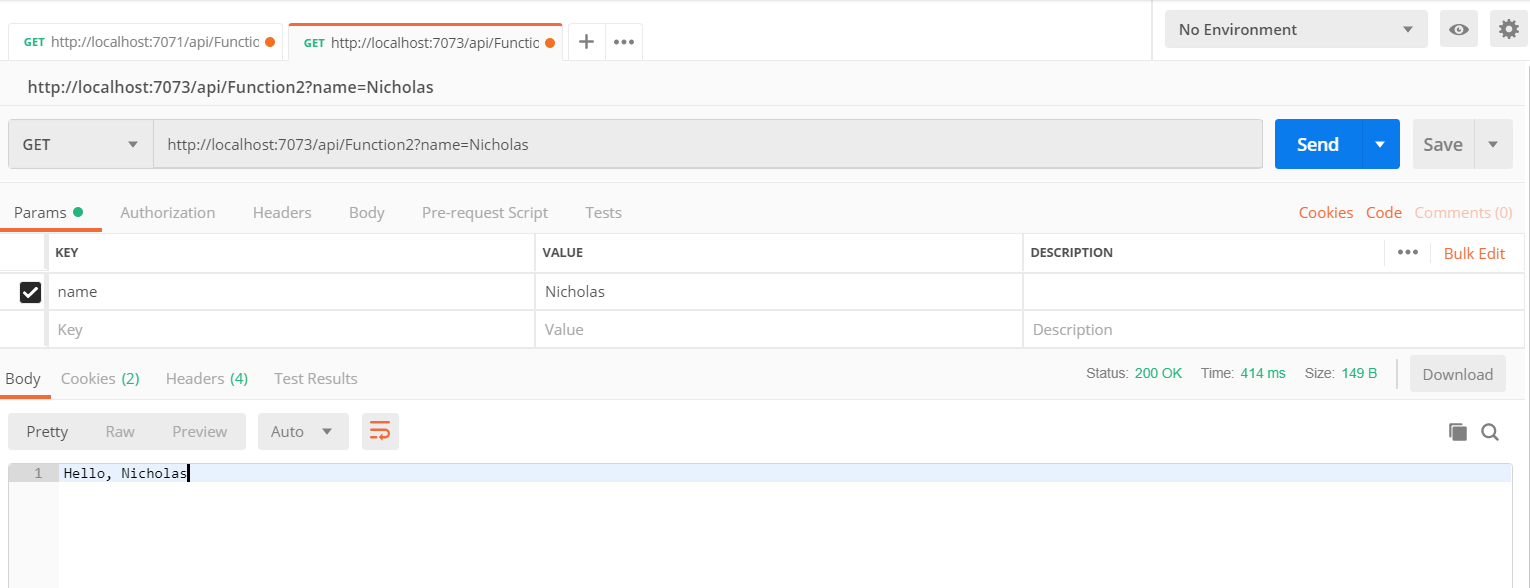
Function 2 is now listening on port 7023, whilst Function 1 still listens on the default port (7071).
For the purpose of keeping the focus just on the development environment, I will keep the existing sample code for both functions, with a promise that the next article will be focused only on code practices.
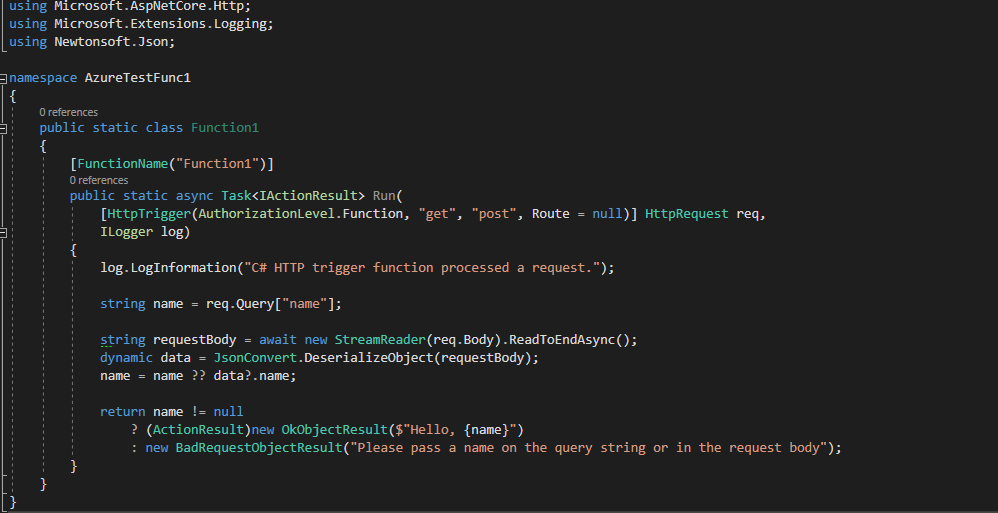
For testing you can use Postman, below you can see a screenshot showcasing a test on Function 2.
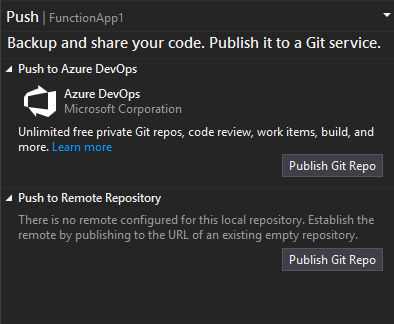
Azure DevOps – publish to Git Repo
Having the functions working locally, we can now push the project on Azure DevOps from Visual Studio. A step by step documentation can be found here. The only difference being that instead of Publish to GitHub you should see Push to Azure DevOps.
Build pipeline
With the publish complete, we can start setting up the CD/CI with Azure Build Pipelines. Ideally, we can create different pipelines for each function, in order to keep the builds and releases separated. Doing a new release on a function mustn’t affect any other function.
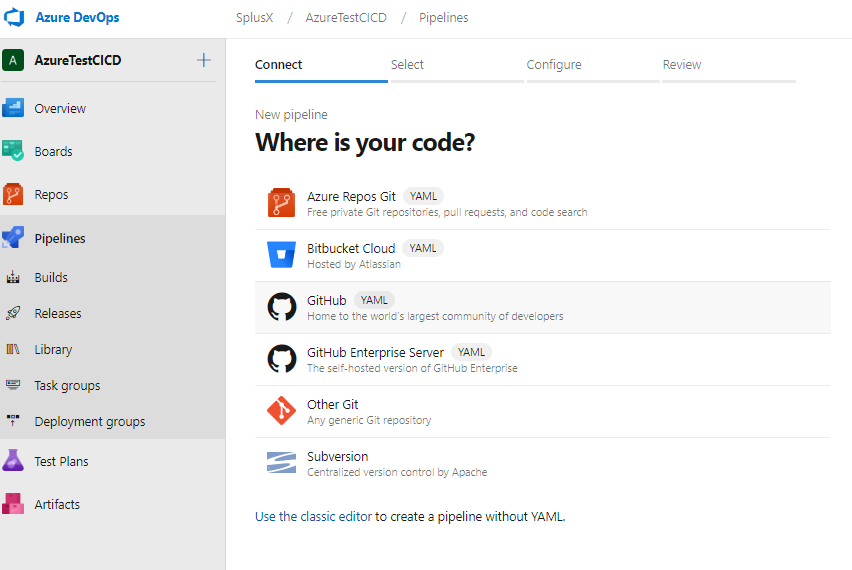
From here we select “Use the classic editor to create a pipeline without YAML.”. On the next view, we can select the default branch for the build and in our case, we only have master (default).
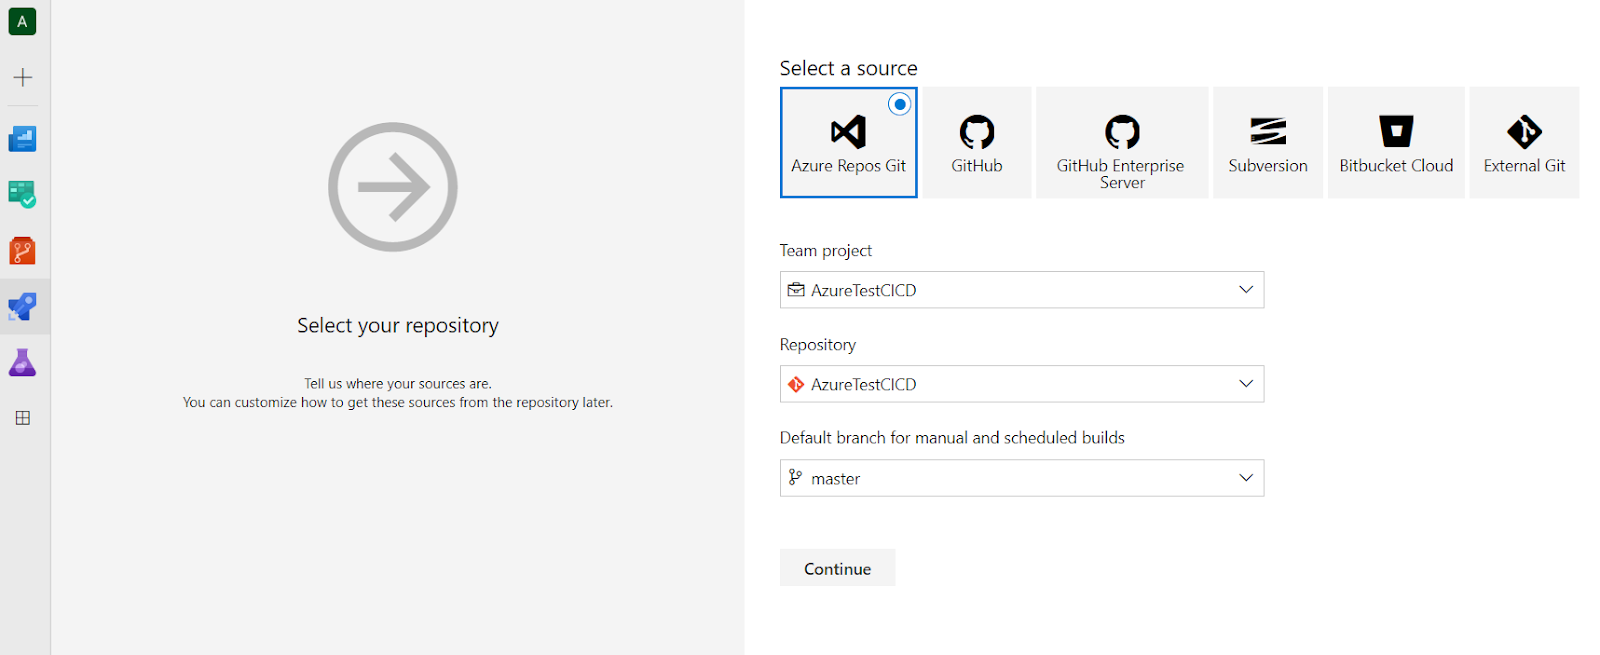
After pressing Continue you’ll see a section from where you can select the template used to create the build pipeline. Use the search box to locate the Azure Function build template.
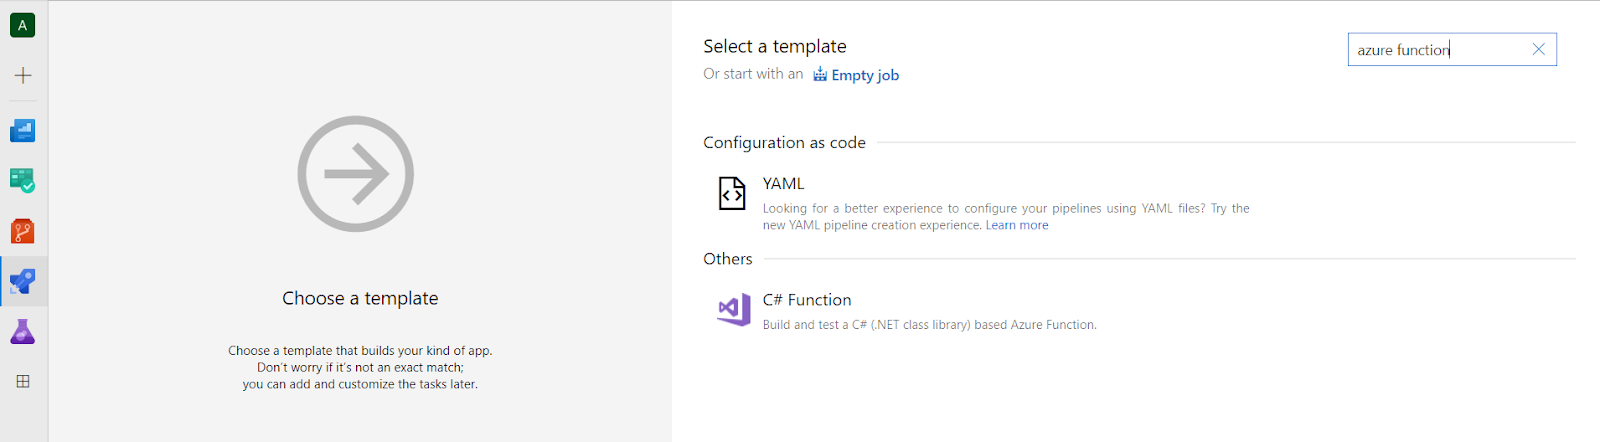
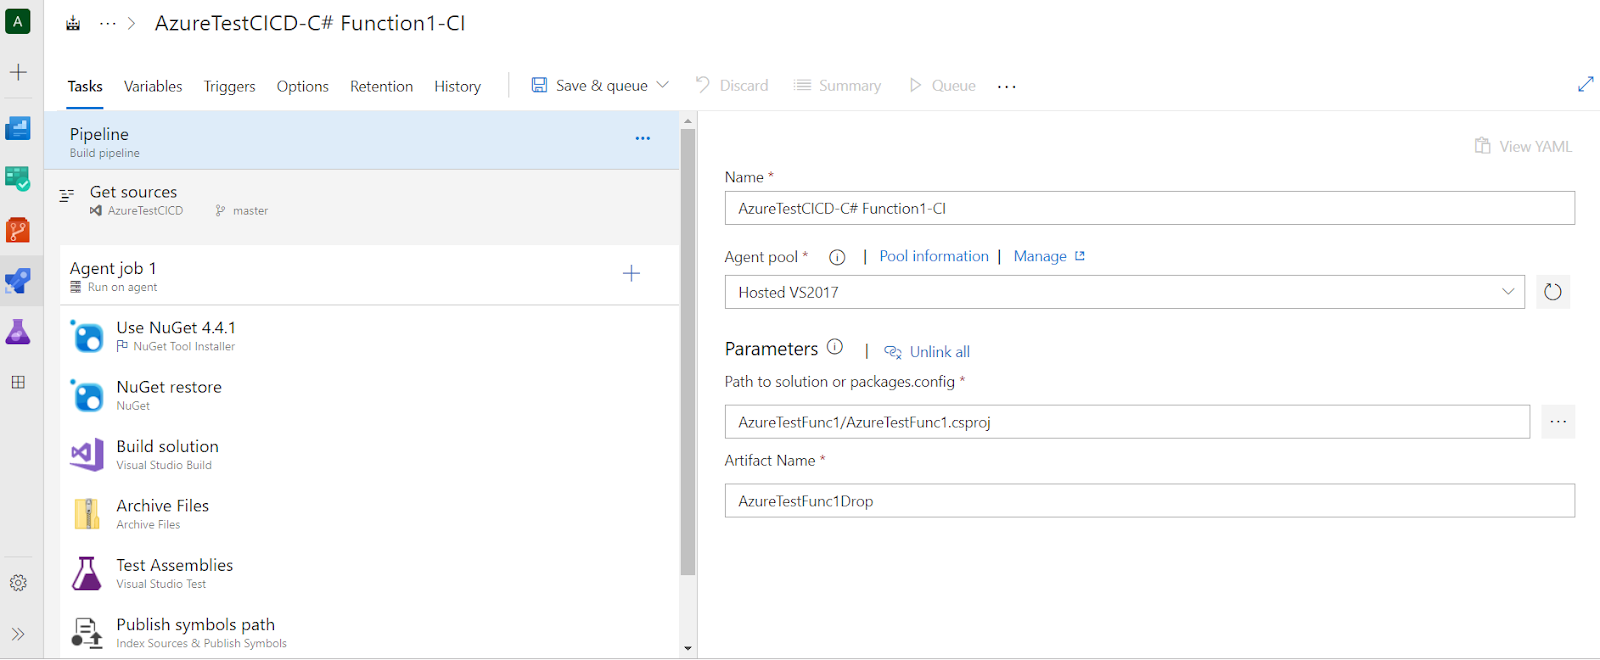
Once you select the template the next view will pop up. The “Path to solution or packages.config” must be changed to the specific .csproj file for each function.
After pressing “Save & queue” the first build will start. When the build is complete, we can check the resulting artifact (drop). This will be used by the Release pipeline in a future step.
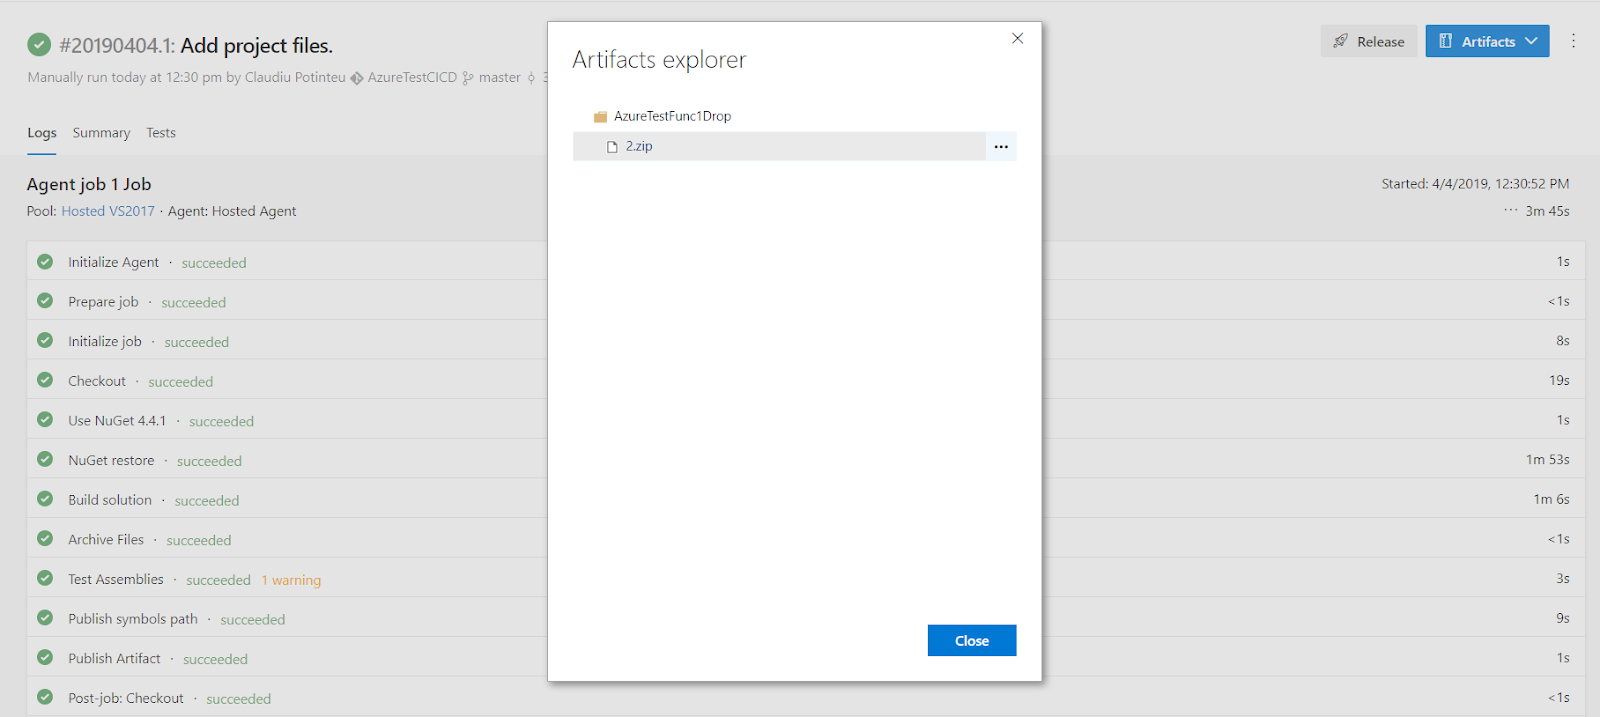
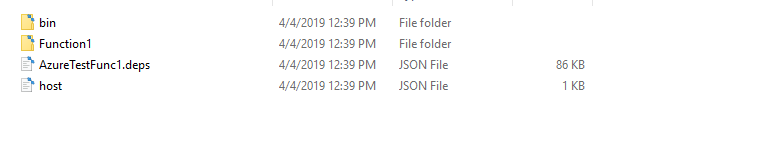
The newly created drop should contain the following files:
Release pipeline
We can now create the Release pipeline. Firstly we have to create the ARM templates used for provisioning our Azure Function environment.
In short, ARM templates are JSON files used by the Azure Resource Manager to deploy and manage services in Azure, useful details can be found here and here. In our case, we want to create a function that uses the Consumption Plan. Details about the differences between all the plans available for hosting can be found using this link. The starting template for a consumption plan function can be found on this page.
We need to download the “azuredeploy.json” and “azuredeploy.parameters.json” files and put them in the solution under a new folder called ARM. By doing this we can control the infrastructure alongside code in the same solution. For ease of use and because Azure DevOps UI is asking us for a “template.json” and a “parameters.json” file, let’s rename “azuredeploy.json” to “template.json” and “azuredeploy.parameters.json” to “parameters.json”.
- “template.json” is used as the blueprint for the Azure resources that need to be deployed before the actual code deployment. The infrastructure deployments are automated based on this, ARM checks if any Azure resources need to be created or updated. Besides automating the deployment process you can also set app settings. We have to update “template.json” in order to create a new ResourceGroup. A Resource Group is a container used to logically group Azure apps. All resources used by a specific app should be usually stored under a single Resource Group. An example can be found here.
- “parameters.json” is used to control the non-static configurations. The parameters section from both “template.json” and “parameters.json” must contain the same keys. The actual value of the parameter is taken from “parameters.json”. If that’s missing, the defaultValue from “template.json” will be used.
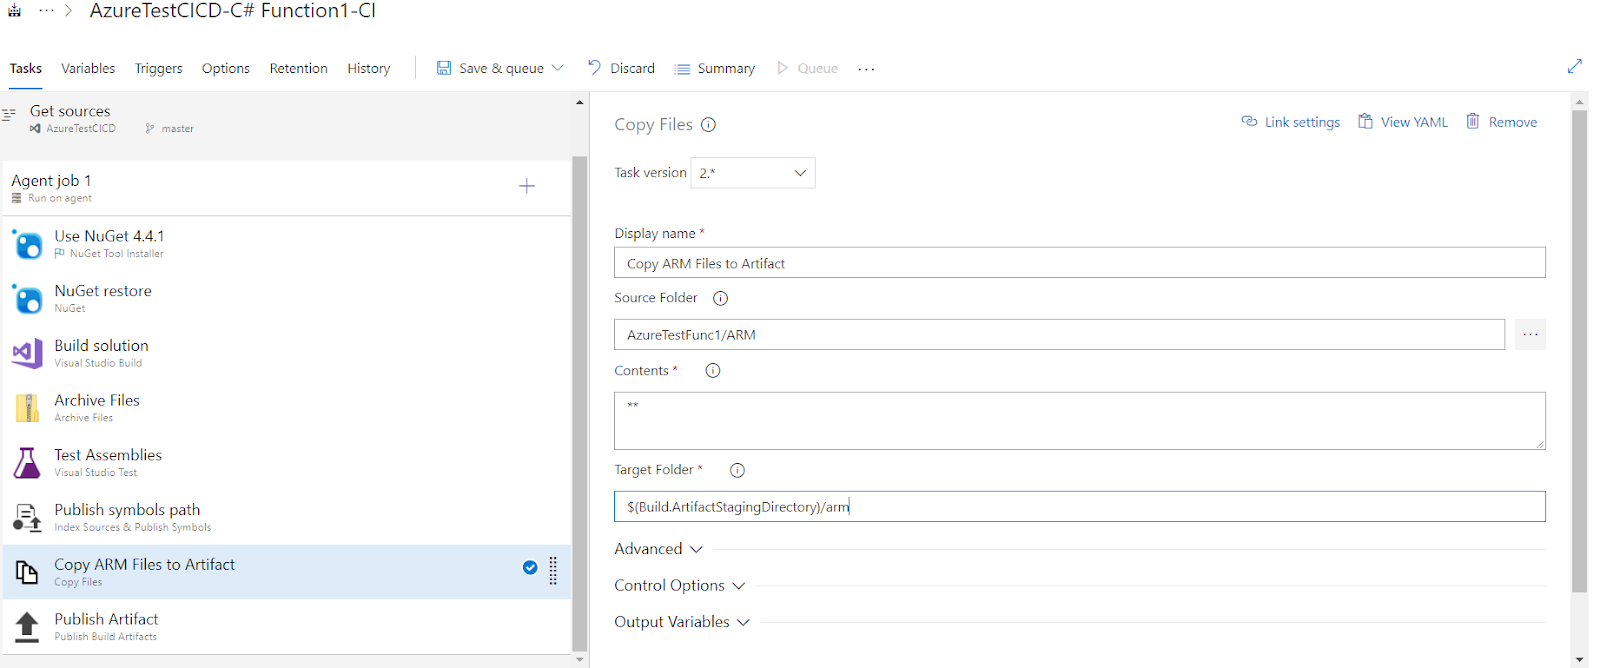
After this, we have to add a Build Pipeline step to copy the ARM templates to the resulted artifact.
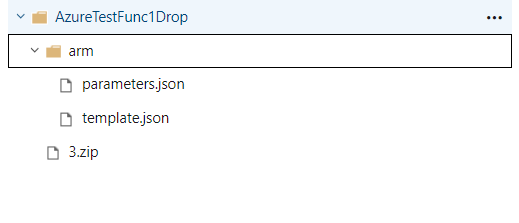
Press “Save & queue” and let’s check the second build artifact to see if we have the ARM templates.
Having the ARM files included as well we can create the release pipeline steps.
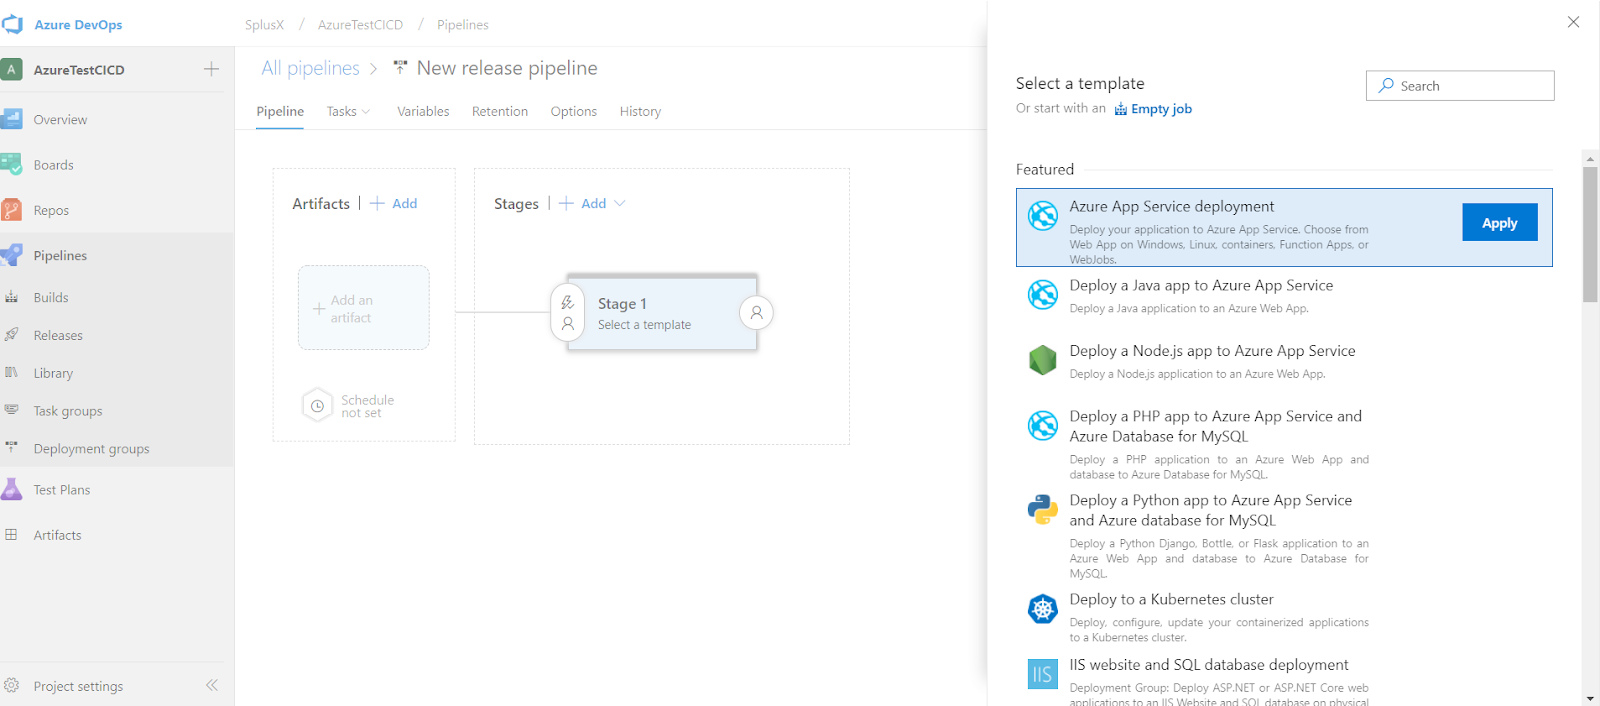
Select Azure App Service deployment and click Apply to create a new release pipeline.
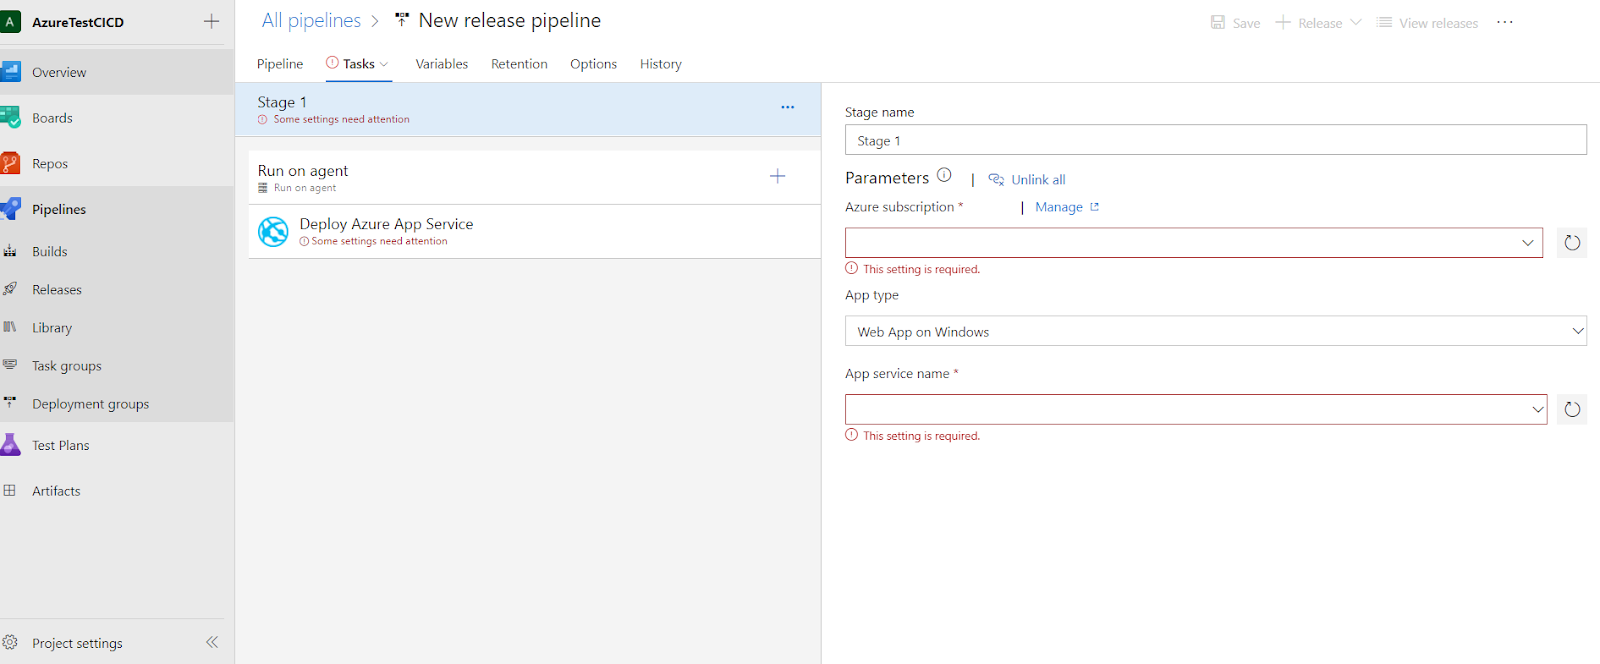
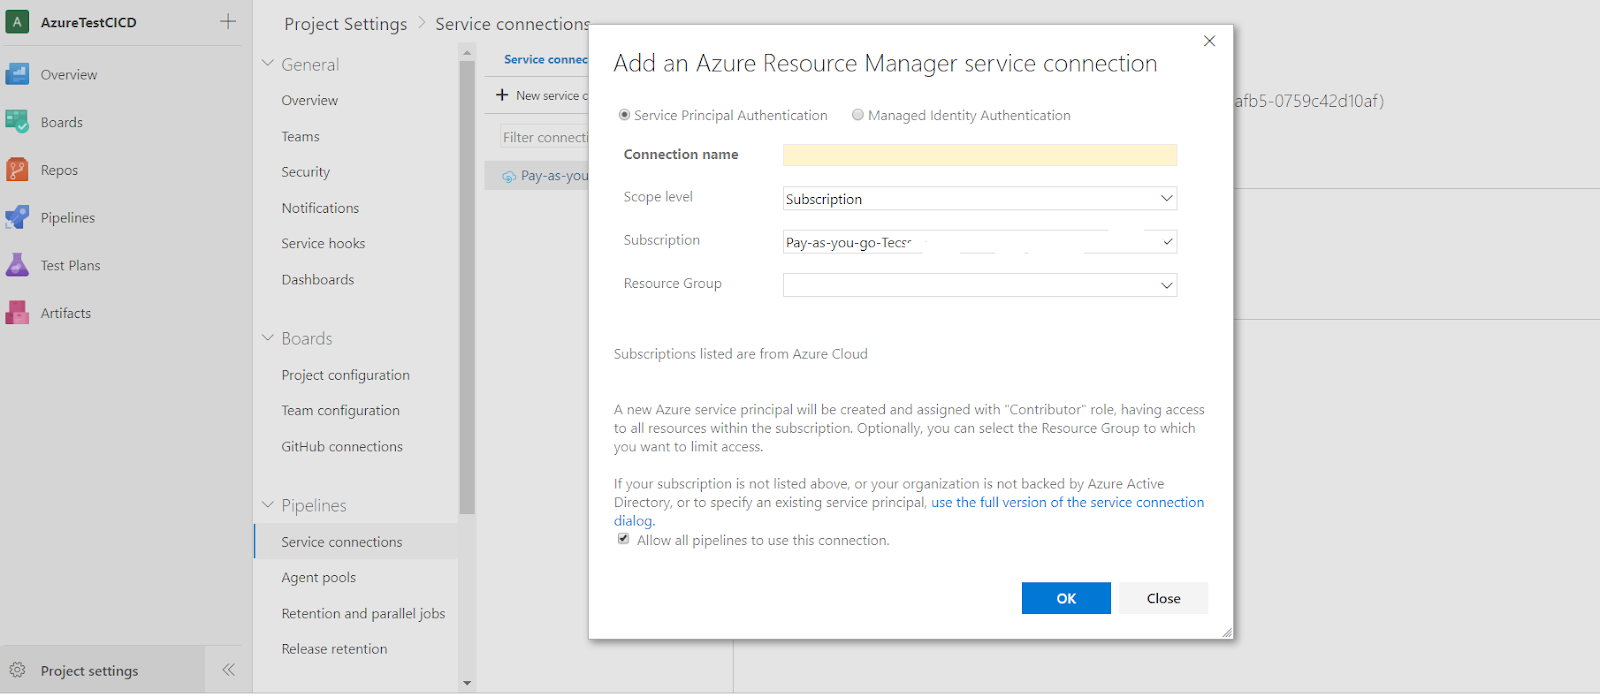
The first setting that we have to fill is the Azure subscription. In order to select an Azure Subscription first we have to add a new Service Connection from Project Settings > Pipelines > Service Connections.
After this, we have to go back to Releases and to start adding steps.
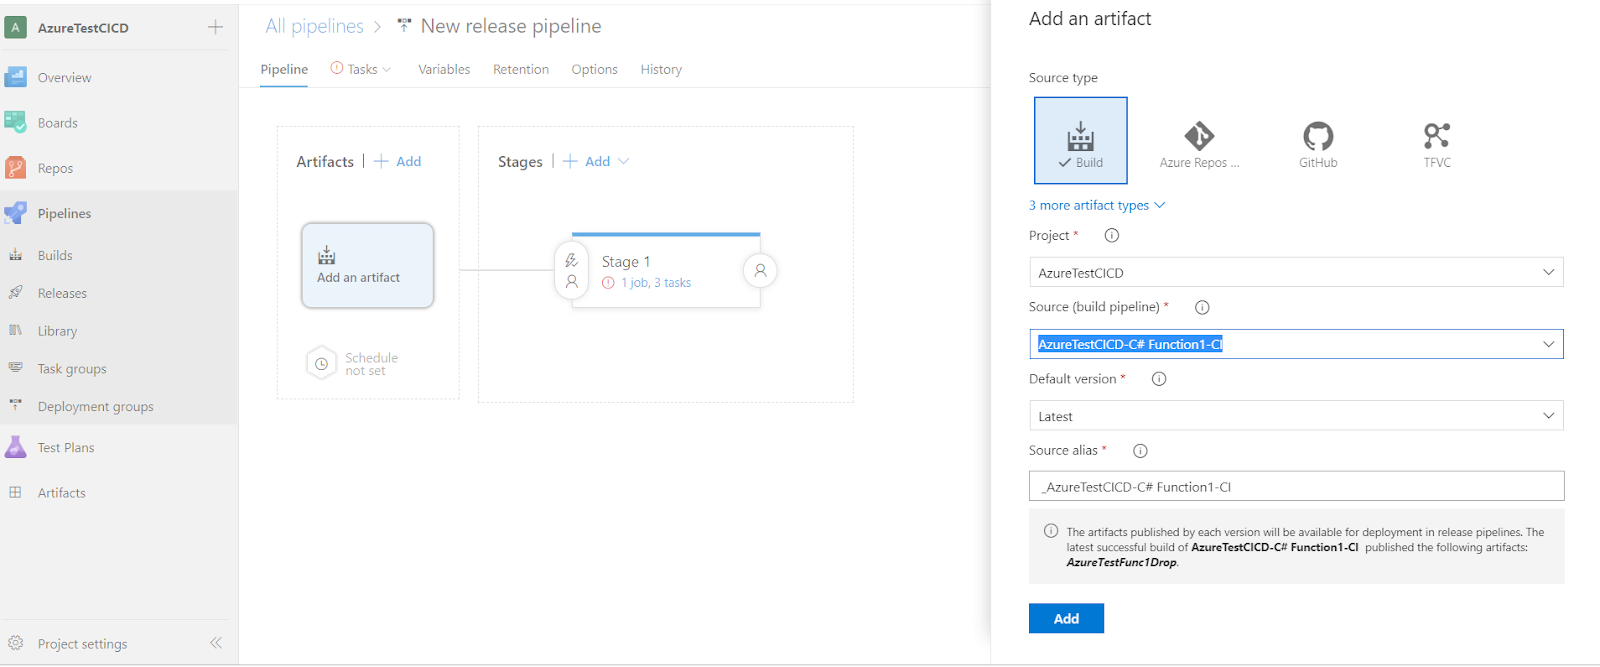
- Add the build artifact as a source for the Release Pipeline.
- Define a pipeline variable for the “Resource Group”
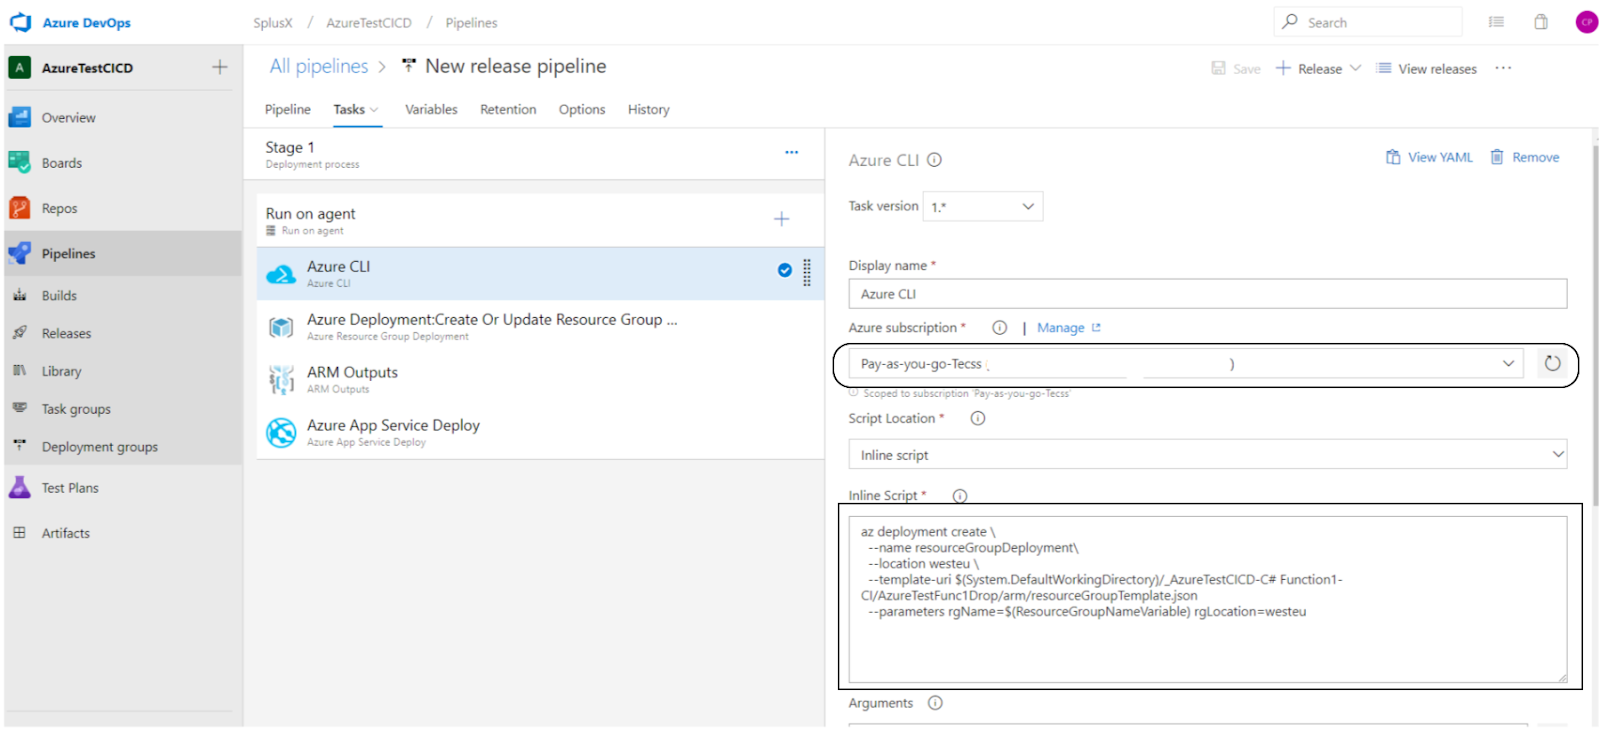
- Create the Azure CLI task – The Portal for Azure Deployment only deploys to a resource group. In order to provision a Resource Group from a template, the template must be deployed to a subscription, not a resource group hence we have to add this extra step. This step creates a resource group by using the previously defined pipeline variable ($(ResourceGroupNameVariable)) in the Inline Script section.
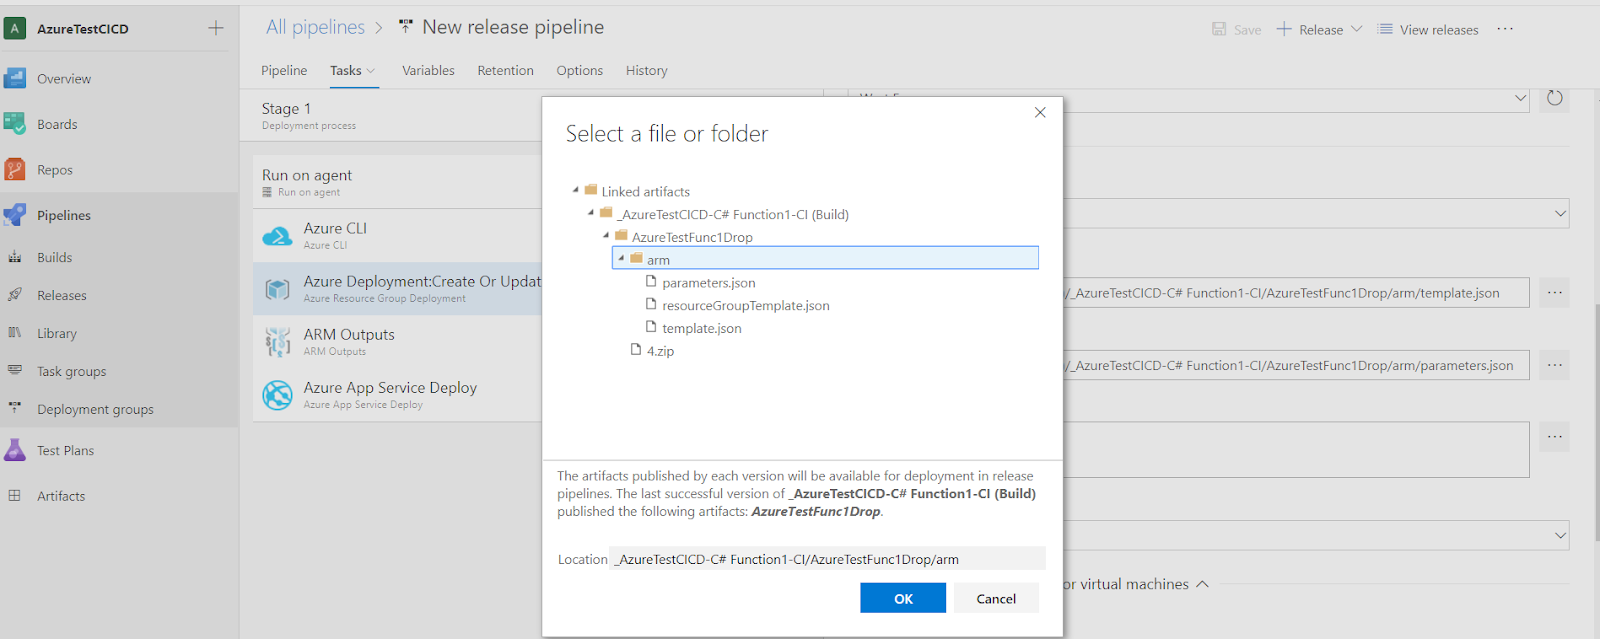
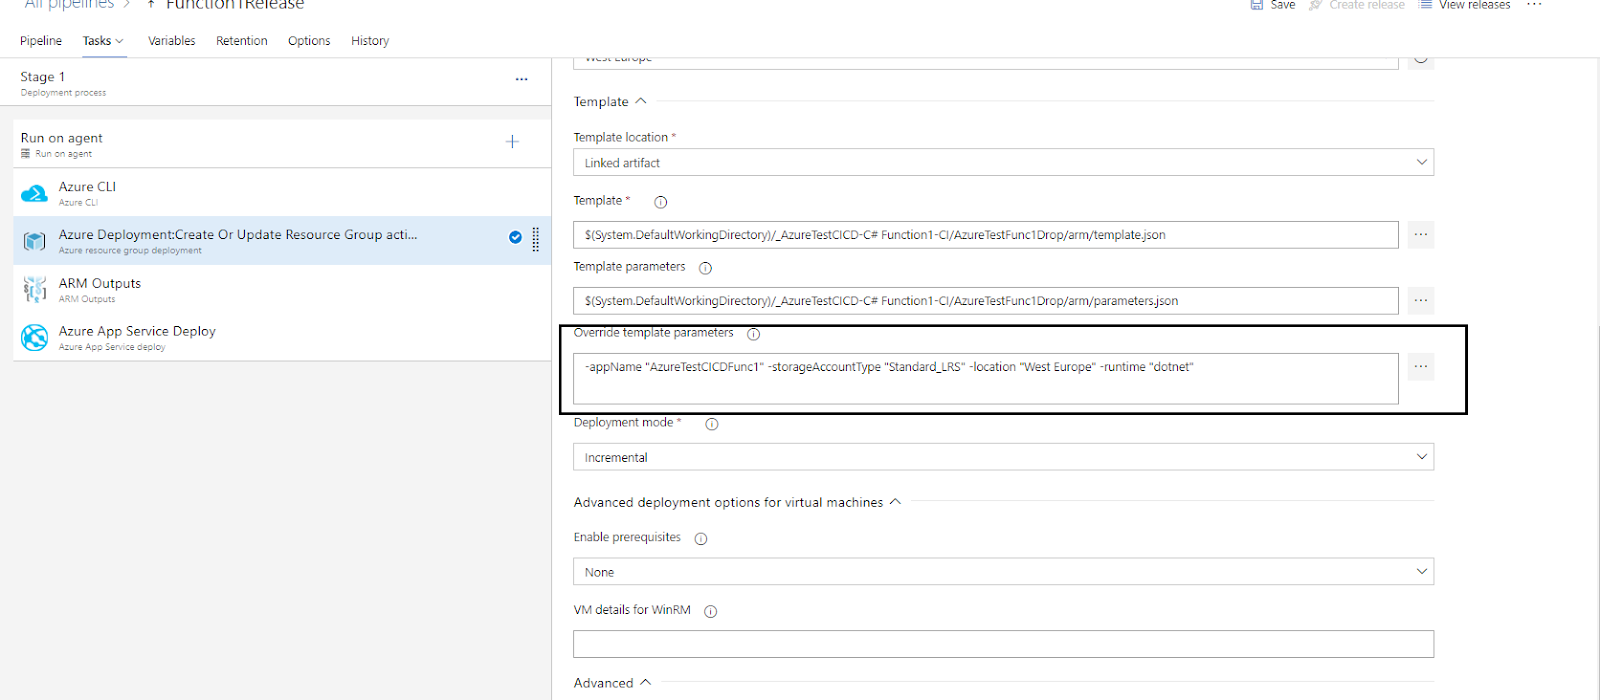
- Azure Deployment task must be updated to point to the ARM templates that we’ve included before.
We can also override the values from “parameters.json”.
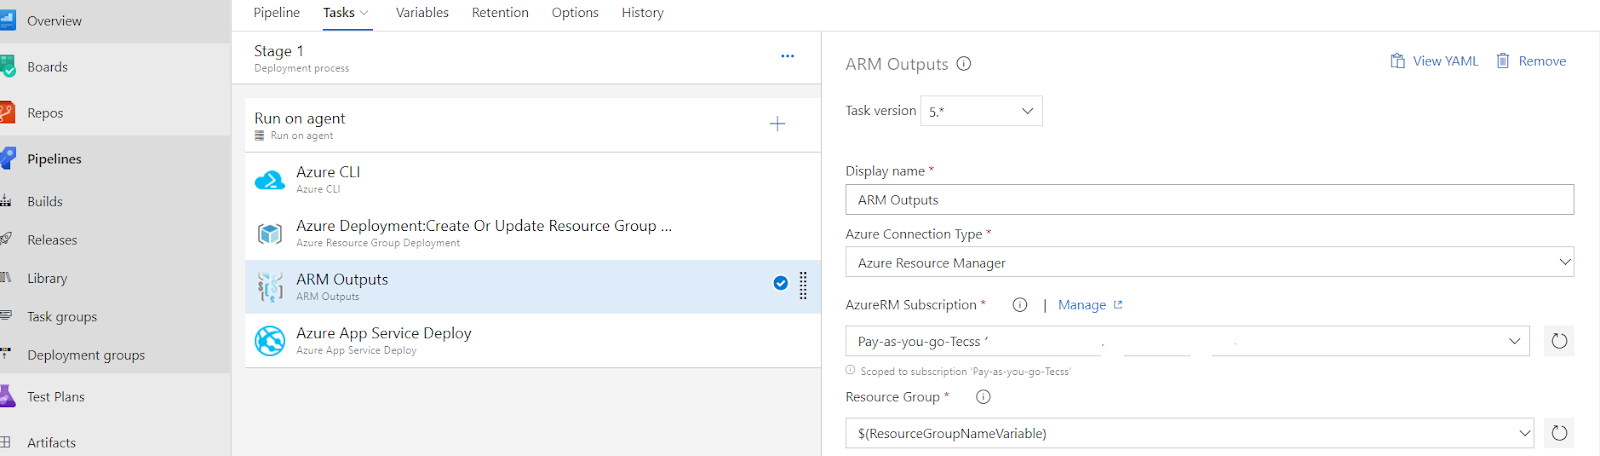
- ARM Outputs is an extension that reads the output values of an ARM deployment which you can use in the Azure Pipeline
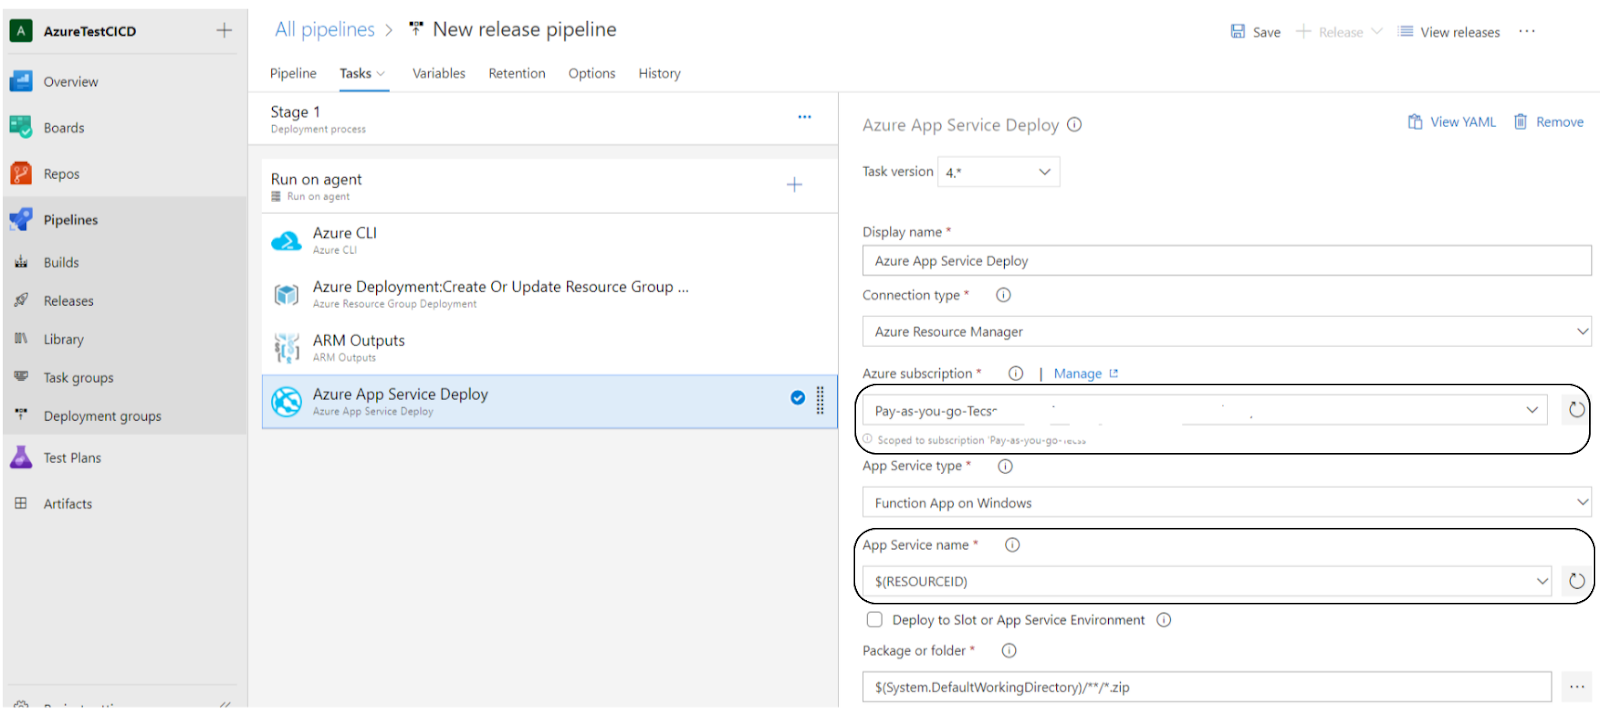
- Last step – Azure App Service Deploy – we set our azure subscription and the App service name to have the variable value set by the ARM Outputs, everything else remaining unchanged. Press Save and then Release to start deploying our function on the Azure Portal.
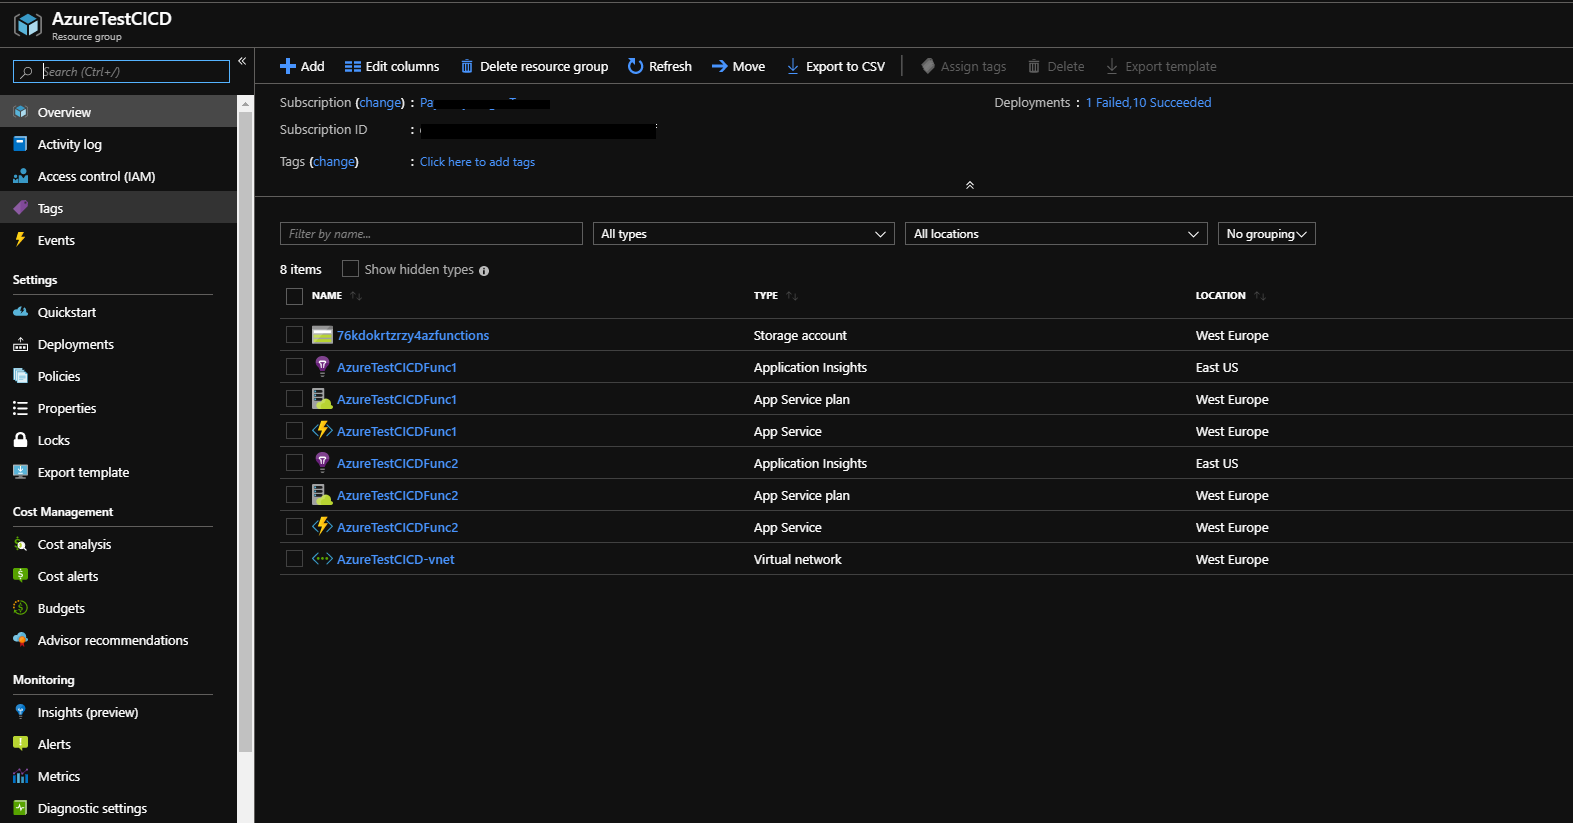
And that’s it, now we have a fully-functional CI/CD pipeline for our master branch. As soon as the release is complete, we can find our function and all the resources needed in Azure Portal.
Conclusions
In my opinion, seeing how easy it is to configure the entire environment, using Azure Functions and, in fact, the entire Azure Platform, helped us tremendously. In our work, we need all the help we can get. If we are able to invest our time and knowledge in writing code, that means that our product has a codebase that’s well-organized and easy to maintain.
Having time, we can pay close attention to cyclomatic complexity, naming conventions, repeating code and large classes (to name just a few code smells). We can invest our time in refactoring, trying to keep all the pieces in place and to act and reflect after adding each major functionality.
Claudiu Potinteu Senior Developer